Machine Learning is transforming how applications understand user feedback, reviews, and social media conversations. One of the most common Natural Language Processing (NLP) tasks is Sentiment Analysis, where text is classified as positive or negative.
What is Sentiment Analysis?
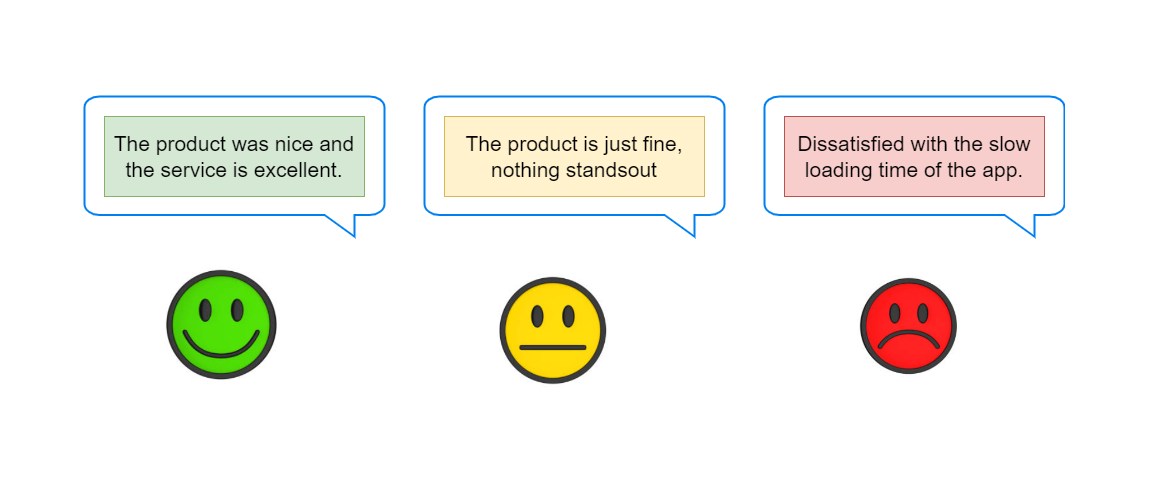
Sentiment Analysis is the process of determining whether a piece of text expresses:
- Positive sentiment
- Negative sentiment
- Neutral sentiment
Examples:
| Text | Sentiment |
|---|---|
| “This product is amazing!” | Positive |
| “The service was terrible.” | Negative |
What is ML.NET?
ML.NET is an open-source, cross-platform machine learning framework developed by Microsoft for .NET developers.
With ML.NET, you can:
- Train machine learning models
- Use pre-trained models
- Perform predictions directly in C#
- Integrate AI into ASP.NET, desktop, and cloud applications
Official Website:
ML.NET
Prerequisites
Before starting, make sure you have:
- .NET SDK installed
- Visual Studio or VS Code
- Basic knowledge of C#
Download .NET SDK:
.NET Download
Step 1: Create a Console Application
Open terminal or command prompt and run:
dotnet new console -n SentimentAnalysisAppNavigate to the project folder:
cd SentimentAnalysisAppStep 2: Install ML.NET Packages
Install the required NuGet package:
dotnet add package Microsoft.MLStep 3: Create Training Data
Create a file named:
sentiment-data.tsvAdd the following sample data:
1   This product is excellent
1   I love this application
1   Amazing experience and great support
0   Worst product ever
0   I hate this service
0   Very disappointing experience
Where:
1 = Positive
0 = Negative
Step 4: Create Data Models
Create a new file named:
SentimentData.csAdd the following code:
using Microsoft.ML.Data;

// Represents input training data structure
public class SentimentData
{
    // LoadColumn(0) means:
    // Read value from first column in dataset
    [LoadColumn(0)]

    // Label = target output
    // true = positive
    // false = negative
    public bool Label { get; set; }

    // LoadColumn(1) means:
    // Read value from second column
    [LoadColumn(1)]

    // Text data for sentiment analysis
    public string Text { get; set; }
}
Now create another file:
SentimentPrediction.csAdd this code:
using Microsoft.ML.Data;

// Represents prediction result
public class SentimentPrediction
{
    // PredictedLabel comes from ML.NET model output
    [ColumnName("PredictedLabel")]

    // Final prediction result
    // true = positive
    // false = negative
    public bool Prediction { get; set; }

    // Probability score between 0 and 1
    // Higher value = stronger confidence
    public float Probability { get; set; }

    // Raw machine learning score
    public float Score { get; set; }
}
Step 5: Build the ML Model
Open Program.cs and replace its contents with:
using Microsoft.ML; // Imports ML.NET library

class Program
{
    static void Main(string[] args)
    {
        // Create ML.NET environment/context
        // This is the starting point for all ML operations
        var mlContext = new MLContext();

        // Load training data from text file
        // SentimentData class defines file structure
        IDataView dataView = mlContext.Data.LoadFromTextFile<SentimentData>(

            // Path of dataset file
            path: "sentiment-data.tsv",

            // Indicates whether file contains column headers
            hasHeader: false
        );

        // Create machine learning pipeline
        // Pipeline = sequence of ML operations
        var pipeline = mlContext.Transforms.Text

            // Convert text into numeric feature vectors
            // "Features" = output column name
            // nameof(SentimentData.Text) = input text column
            .FeaturizeText(
                outputColumnName: "Features",
                inputColumnName: nameof(SentimentData.Text)
            )

            // Add binary classification trainer
            // SDCA Logistic Regression algorithm is used
            .Append(
                mlContext.BinaryClassification.Trainers
                    .SdcaLogisticRegression(

                        // Target column containing true labels
                        labelColumnName: "Label",

                        // Feature column generated from text
                        featureColumnName: "Features"
                    )
            );

        // Train the machine learning model
        // Fit() learns patterns from dataset
        var model = pipeline.Fit(dataView);

        // Create prediction engine
        // Used for single predictions
        var predictionEngine =
            mlContext.Model.CreatePredictionEngine
            <SentimentData, SentimentPrediction>(model);

        // Create sample input data
        var sampleStatement = new SentimentData
        {
            // Text we want to analyze
            Text = "This application is fantastic!"
        };

        // Predict sentiment using trained model
        var prediction =
            predictionEngine.Predict(sampleStatement);

        // Display prediction result
        Console.WriteLine(
            $"Prediction: {(prediction.Prediction ? "Positive" : "Negative")}"
        );

        // Display probability/confidence score
        Console.WriteLine(
            $"Probability: {prediction.Probability}"
        );

        // Display raw prediction score
        Console.WriteLine(
            $"Score: {prediction.Score}"
        );
    }
}
Step 6: Run the Application
Execute:
dotnet runExample output:
Prediction: Positive
Probability: 0.95
How It Works
The ML.NET pipeline performs several operations:
1. Text Featurization
FeaturizeText()Converts text into numeric vectors understandable by machine learning algorithms.
2. Binary Classification
SdcaLogisticRegression()Trains the model to classify text as:
- Positive
- Negative
3. Prediction Engine
Used for making predictions on new text inputs.
Step 7: Evaluate the Model
Add evaluation code after training:
var splitData = mlContext.Data.TrainTestSplit(dataView, testFraction: 0.2);

var trainedModel = pipeline.Fit(splitData.TrainSet);

var predictions = trainedModel.Transform(splitData.TestSet);

var metrics = mlContext.BinaryClassification.Evaluate(predictions);

Console.WriteLine($"Accuracy: {metrics.Accuracy}");
This helps measure:
- Accuracy
- F1 Score
- AUC
- Precision and Recall
Real-World Use Cases
Sentiment Analysis can be used for:
- Product review analysis
- Social media monitoring
- Customer feedback systems
- Brand reputation tracking
- Chatbots and support systems
Advantages of ML.NET
Why developers love ML.NET:
- Native C# integration
- No Python required
- Cross-platform support
- Easy deployment
- Fast model training
- Production-ready APIs
Limitations
Some challenges include:
- Small datasets reduce accuracy
- Sarcasm detection is difficult
- Context understanding may be limited
- Better datasets improve predictions
Next Improvements
You can enhance this project by:
- Using larger datasets
- Saving/loading trained models
- Creating an ASP.NET Core API
- Building a real-time sentiment dashboard
- Integrating Azure AI services
Save and Load the Model
Save Model
mlContext.Model.Save(model, dataView.Schema, "sentiment-model.zip");Load Model
DataViewSchema schema;

var loadedModel = mlContext.Model.Load(
    "sentiment-model.zip",
    out schema);
Conclusion
In this tutorial, we learned how to build a Sentiment Analysis application using ML.NET and C#.
We covered:
- Creating a dataset
- Building ML pipelines
- Training a model
- Making predictions
- Evaluating accuracy
ML.NET makes it easy for .NET developers to integrate machine learning into applications without switching to other programming languages.
If you're building intelligent .NET applications, ML.NET is a powerful framework worth exploring.
Happy Coding!