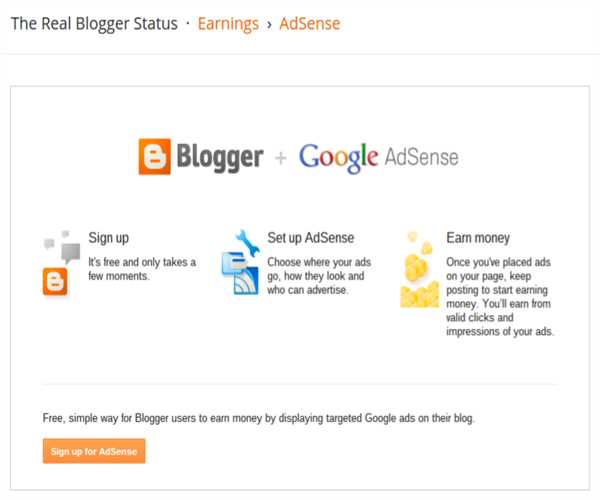
To set up your new AdSense account on your blog and start showing ads, follow these steps:
Sign in to your AdSense account: Go to the AdSense website and sign in using the email address and password you used to create your account.
Create an ad unit: Click on the "Ads" tab in your AdSense dashboard and select "Ad Units". Create a new ad unit and customize it according to your preferences, such as ad size, ad type, and color scheme.

Copy the ad code: Once you've created your ad unit, copy the ad code that AdSense generates for you.
Paste the ad code into your blog: Depending on the platform you are using for your blog, you will need to paste the ad code in different ways. For example, if you are using WordPress, you can paste the ad code into a widget or use a plugin to insert the ad code into your blog posts.
Wait for approval: After pasting the ad code into your blog, you will need to wait for AdSense to review your site and approve your account. This process usually takes a few days, but can take longer in some cases.
Monitor your earnings: Once your account is approved, you can monitor your earnings and performance in your AdSense dashboard. You can also customize your ads further by creating different ad units and experimenting with different ad sizes, placements, and colors.
It's important to note that AdSense has strict policies regarding ad placement and content, and violating these policies can result in account suspension or termination. Therefore, it's important to read and understand AdSense's policies before setting up ads on your blog.
In conclusion, setting up AdSense on your blog involves creating an ad unit, copying the ad code, pasting it into your blog, waiting for approval, and monitoring your earnings. By following these steps and adhering to AdSense's policies, you can start earning money from your blog through advertising.