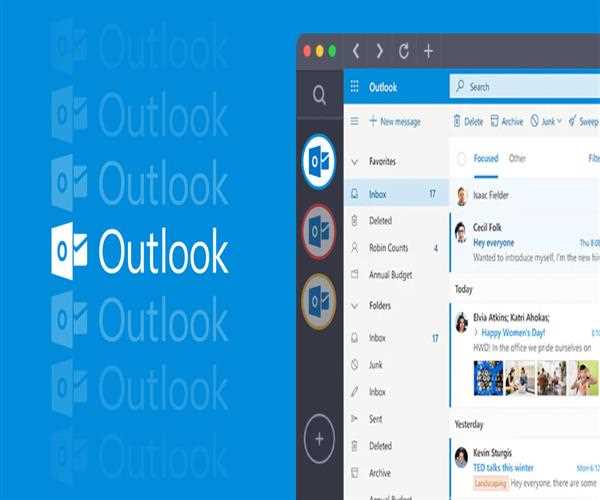
Configuring Outlook in Windows 10 is a straightforward process that allows you to set up and manage your email account effectively. Here's a step-by-step guide on how to configure Outlook in Windows 10:
Step 1: Launch the Outlook Application To configure Outlook, you need to open the application. To do this, click on the Start menu and search for "Outlook" in the search bar. Click on the application once it appears.
Step 2: Click on "File" After launching the application, you will see a navigation bar at the top of the window. Click on "File" in the navigation bar.
Step 3: Add an Account From the options that appear, click on "Add Account." This will open a new window where you will have to enter your email account information.

Step 4: Enter Your Email Address In the new window, you will see a field labeled "Email Address." Type in your full email address in this field.
Step 5: Enter Your Password In the same window, you will see another field labeled "Password." Type in the password for your email account in this field. Ensure that the password is accurate as the application will not configure if you enter the wrong password.
Step 6: Configure Your Account Settings Once you have entered your email address and password, Outlook will configure your account settings automatically. If the application does not configure your account settings automatically, you can configure them manually by clicking on the "Manual Setup" option.
Step 7: Verify Your Account Information After the application has configured your account settings, you will see a screen that displays your email address, server information, and other settings. Verify that the information is correct and click on "Finish" to complete the process.
Step 8: Access Your Emails Once you have configured your account successfully, you can now access your emails by clicking on the "Inbox" option in the navigation bar.