In
Salesforce, reports are a list of records which meets the criteria we define. Reports are displayed in rows and columns. And also reports can be displayed, filtered or grouped and display in a graphical chart. In Salesforce every report is stored in a folder and those folders can be shared, hidden or public and can be set to read-only or read/writer.
Steps to create Report in Salesforce
- Now, to create a report, first of all, you have a valid registered account.
- After login to your salesforce association group and then click on reports tab you would navigate to below screen.

- “New Dashboard” button is used to navigate to dashboard screen.
- “New Report” button is used to navigate to list of report screen.
- All Folders box shows all the list of presented report/dashboard folders in your organization. By default, salesforce would give standard folders.
- Now, to create new Salesforce reports follow the steps –
- Click on report tab and then click on new report button.
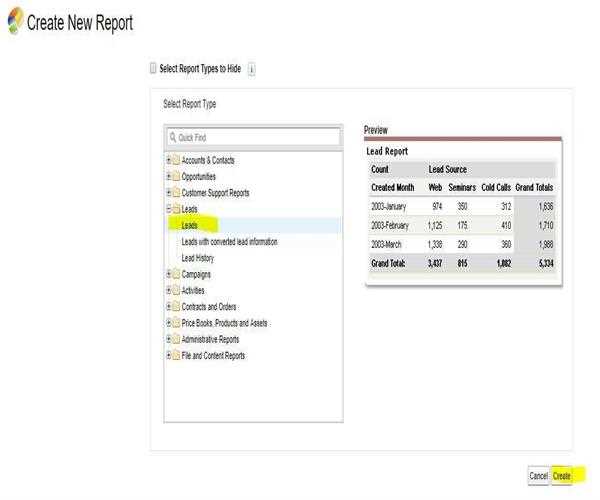
- Select the report type and click on Create.
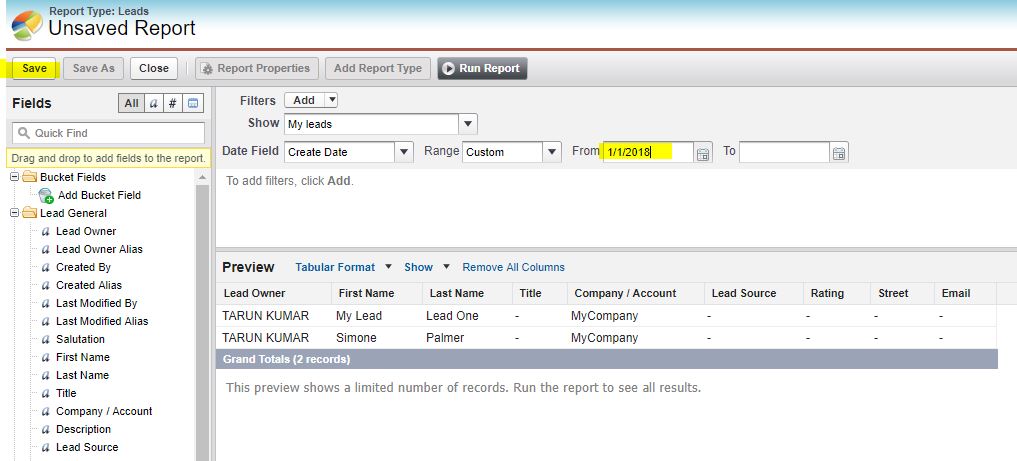
- After clicking “Create” button, you will move to “Unsaved Report” page. Here do your filters set up as needed, for ex. in my case I have changed the date “From” with “1/1/2018”.
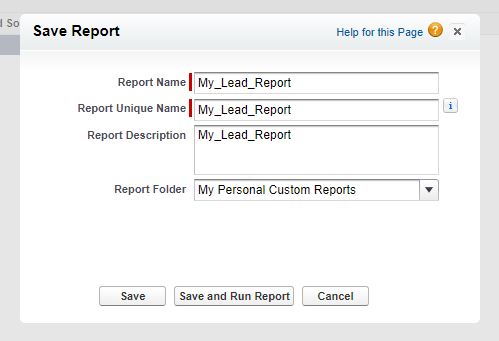
- After filtration, click on “Save” button, a new window “Save Report” will popups. Now, fill the form of “Save Report” window, and give a name of your report like “My_Lead_Report”, and also select the “Report Folder”.
- Now, after entering the compulsory fields click on “Save” button or if you want to run your report directly with saving the form then click on “Save and Run Report”.