As we all know, there are plenty of simples, easy and simple software available online on the internet, which can help us easily create bootable pen drive. Sometimes bootable pen drive is also known as bootable USB.
We can explain some other software that is widely used, which are Win32 disk imager, Like -
1). Windows USB/DVD Tool,
2). Universal USB Installer,
3).RMPrepUSB,
4).UNetBootin,
5).YUMI – Multiboot USB Creator,
6).WinSetUpFromUSB,
7).Rufus etc.
But sometimes with the help of this software, we still do not get a good and a desire-seeking result. Therefore, we are going to learn how to create a bootable pen drive using cmd (windows command prompt).
The advantage of CMD prompt Bootable Trick
1). No need to the Internet.
2). Safe and secure.
3). No virus, No Ads, No Popups.
4). Easy and Fast Boot falsity provided by Microsoft Corp.
5). No need for any extra (other) software for the bootable process. etc.
CMD prompts are available on all computers with the Windows operating system, so you should not worry about downloading any other external software or download it. Since CMD is part of the Windows operating system.
It is a bit lengthy process but it traditional method and always works:-
1). First Start your PC (and wait for completely open it). Then After Insert a USB Storage device or a Pen-Drive into your PC.
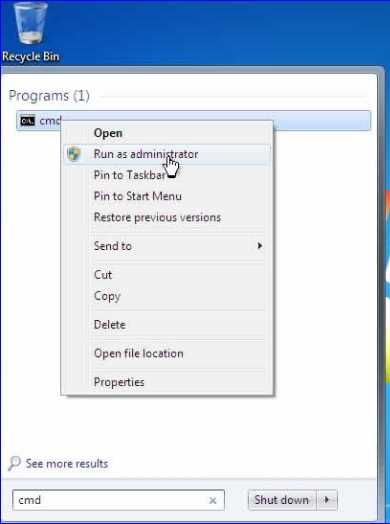
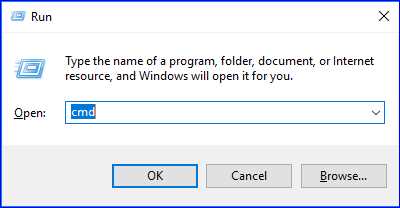
2). Run cmd(Command Prompt) as Administrator. (This is an important step because you are going to edit disks which require admin privileges)There are several ways to open a command prompt with admin rights:
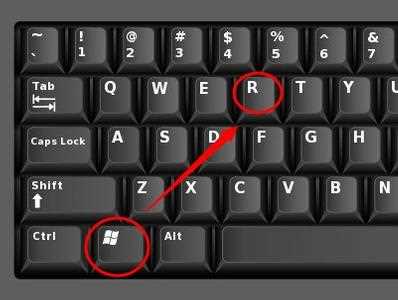
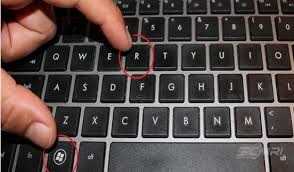
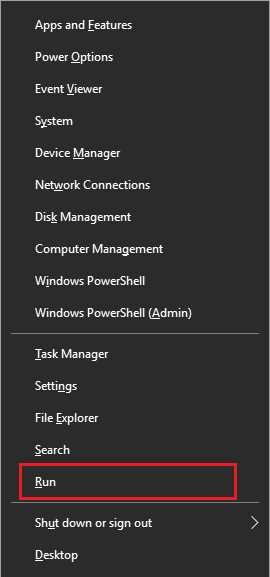
i) Press Windows + X and select Command Prompt(Admin). OR Windows + R for open CMD directly.
OR
ii) Open start menu, search cmd, right click and click run as administrator.
iii) Open task manager, click on file -> new task, tick Create this task with administrator privileges, type cmd and hit enter.
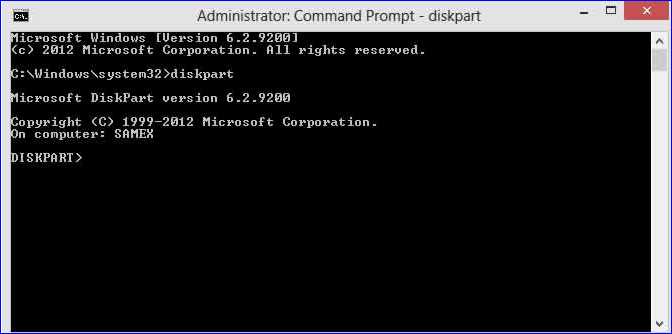
3). Type disk part and press enter. (This will open the windows inbuilt disk part utility which is used to manage the storage on your computer).
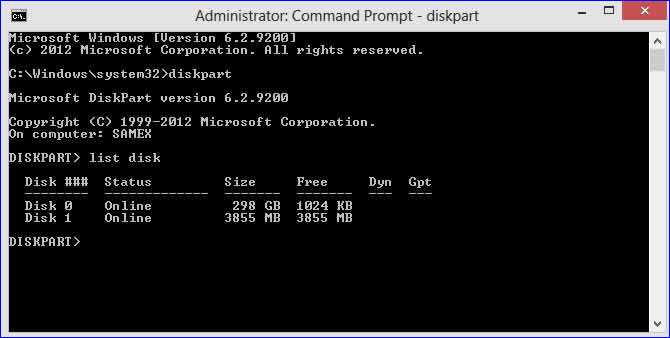
4). Type list disk and press enter. This will list all the storage device available on your computer.
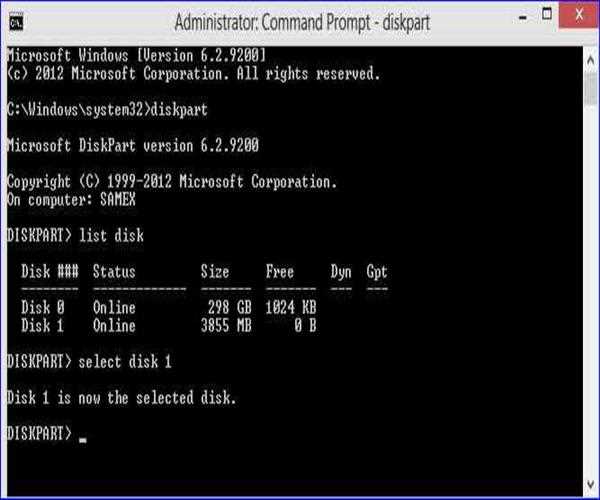
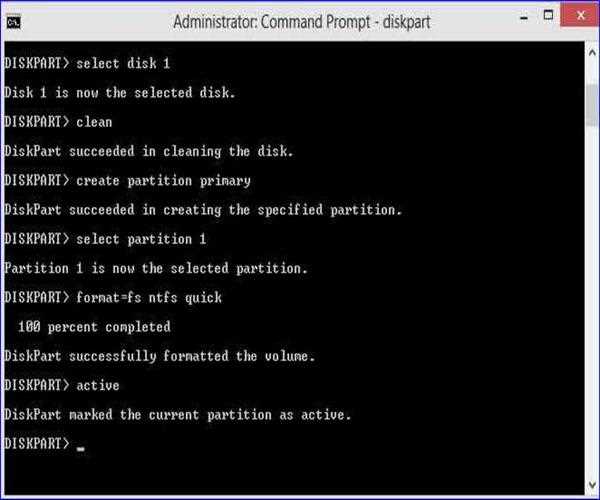
5). Choose your pen drive. For that type select disk 1 and press enter. (Here it is disk 1. On your computer it may differ so choose wisely).
6). Type clean and press enter. This will erase all data from your pen drive.
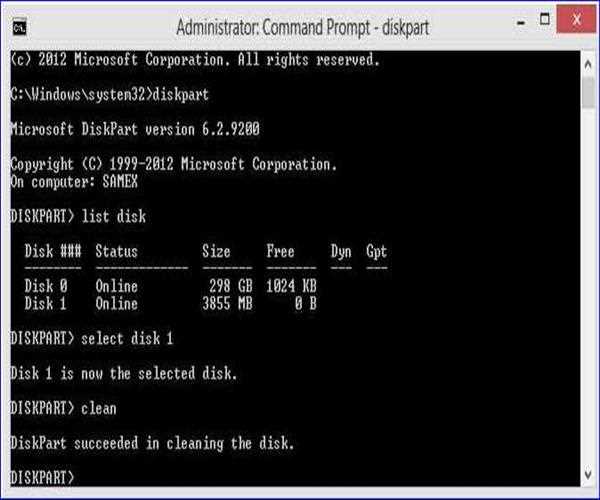
7). Type create partition primary and press enter.
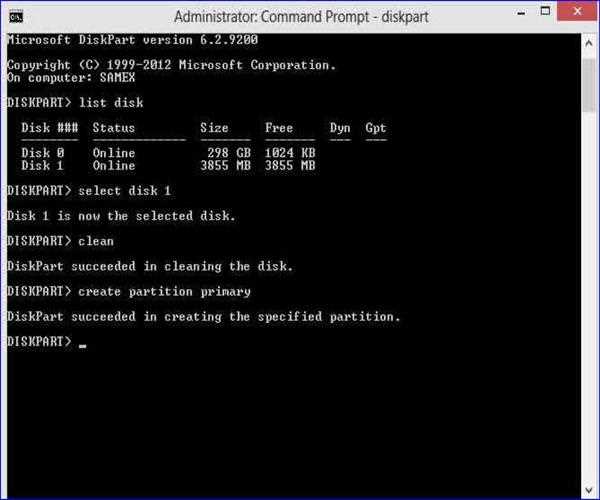
8). Type select partition 1 and press enter. This will choose the partition we just created.
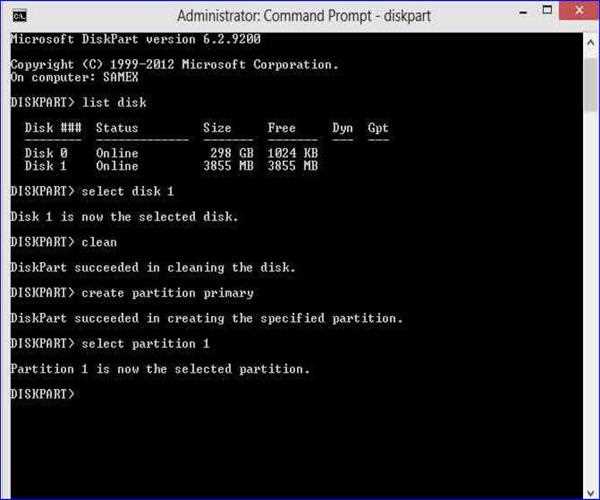
9). Type format=fs NTFS quick and press enter. This will perform a quick format with the NTFS file system. (Windows use the NTFS file system for storage)
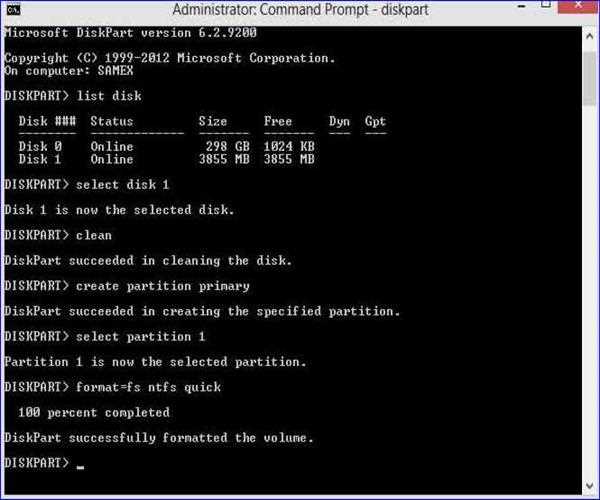
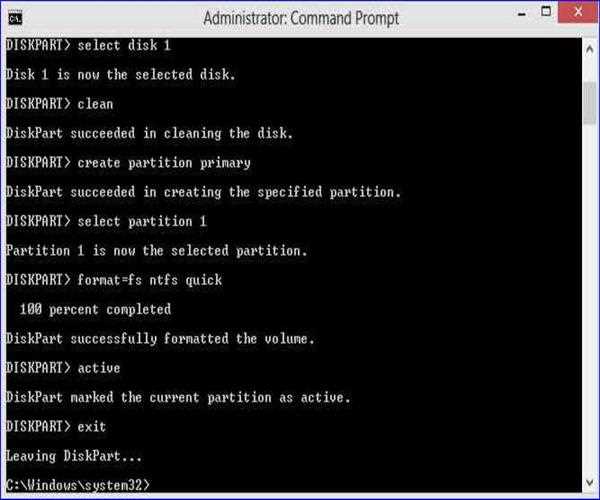
10). Type active and press enter. This will mark your primary partition as active.
11). Type exit and press enter to exit disk part and then close the command prompt.
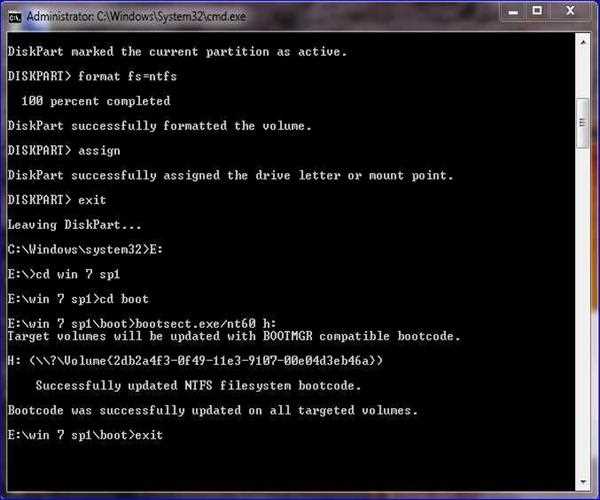
After the formatting process is done you will continue writing commands:→assign(this will usually change the USB drive letter to H or G)→exit(this will exit the disk part but not the cmd)→xcopy i:\*.* /s/e/f h:\→(i is the letter of the mounted .iso and his the letter of the USB drive where you want to copy the files from i)→
12). Now copy all the data from Windows installation disk to your pen drive.
13). Now your pen drive is bootable having desired windows installation.
Thanks for Reading this Article.
Photo Credits: dailytechnoblog.com